Sear Vs Reverse Sear | Detailed Breakdown
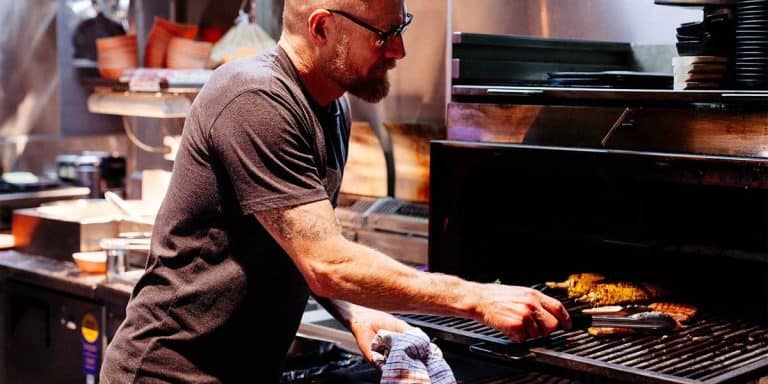
Grilling a perfectly cooked steak is an art. It’s a delicate balance between time, temperature, and technique.
But what happens when we get it wrong?
We’ve all been there: You’re hungry for dinner but don’t want to spend all night cooking. You fire up the grill and begin cooking your steaks, but they come out dry and tough or so under-cooked that they’re practically raw. But what if you could enjoy a perfectly cooked steak every time you grill?
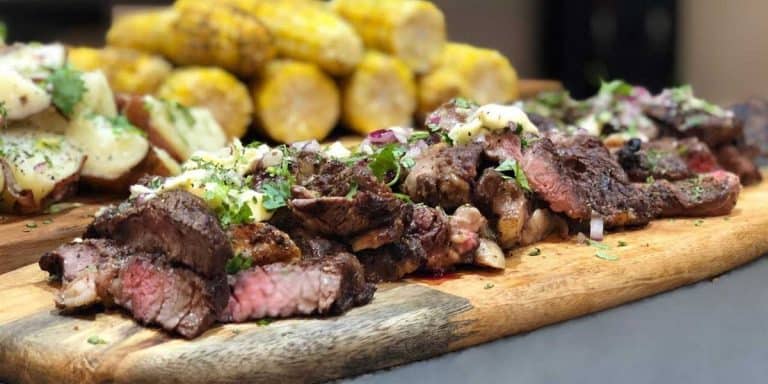
A good steak is all about balancing tenderness and flavor—and grilling is the best way to get it right every time.
You’ve probably heard of the reverse sear method if you’re a steak lover. The reverse sear method is superior to conventional grilling in every way.
It takes less time; it produces a juicier steak with more flavor, and most importantly, it gives you more control over your cooking process!. But What exactly is reverse Searing?
What is A Front/Regular Sear?
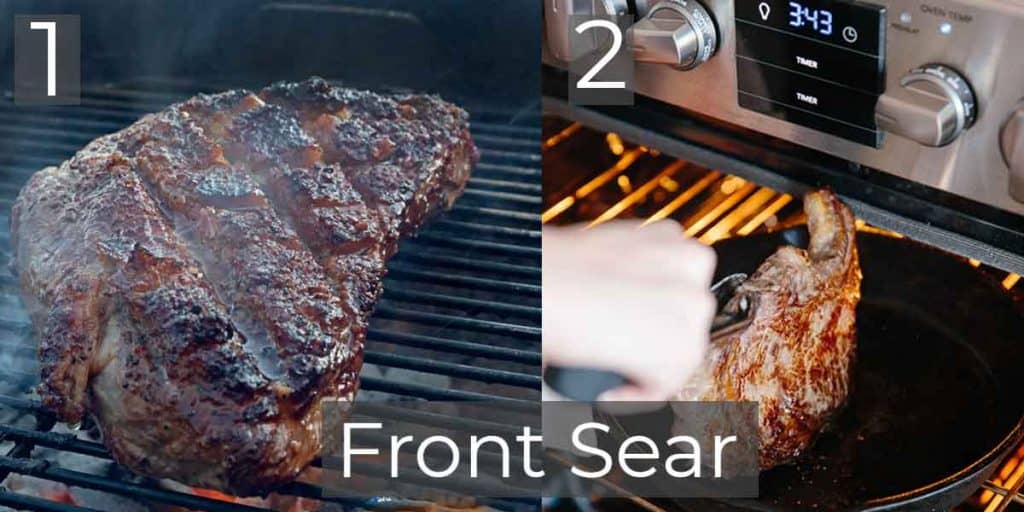
A front sear is a cut of meat that has been cooked to the point that it is still a little raw in the middle. It’s also known as a regular sear. It is a technique that chefs use to cook meat, and it involves searing the outside of the meat before cooking it in the oven.
It’s one of the most popular ways to cook your steak if you want to keep it juicy and flavorful. The main benefit of this method is that it helps develop a thick crust on the outside of the meat, which helps seal in juices and prevents them from evaporating. You can get a juicier and more tender result with less moisture loss.
The crust also adds flavor to the meat, so you’ll have a tastier meal. Another benefit is that it’s easier to monitor cooking progress since you can see how dark your meat is getting without having to poke at it with a thermometer.
This helps you ensure it doesn’t get overdone before its time or undercooked when it needs longer in the oven to reach an internal temperature high enough for safety reasons.
What is Reverse Searing?
Reverse Searing is a cooking technique that involves heating the inside of a cut of meat at a temperature lower than the desired final internal temperature. This process will ensure that the exterior of your meat is perfectly browned while the interior remains moist and tender.
The idea behind this method is that the outside of the meat will be more flavorful and browned than it would be if the entire piece of meat were cooked at a high temperature. It’s also a great way to get maximum tenderness from your meat. It is especially useful for cooking tough cuts of meat like ribs and short ribs (which are notoriously hard to cook).
The low-temperature cooking makes them more tender and juicy, and then the high heat crisps up the outside of the meat, so it gets that perfect crust. It’s important to note that reverse searing isn’t a technique as it is an approach to cooking delectable juicy meats.
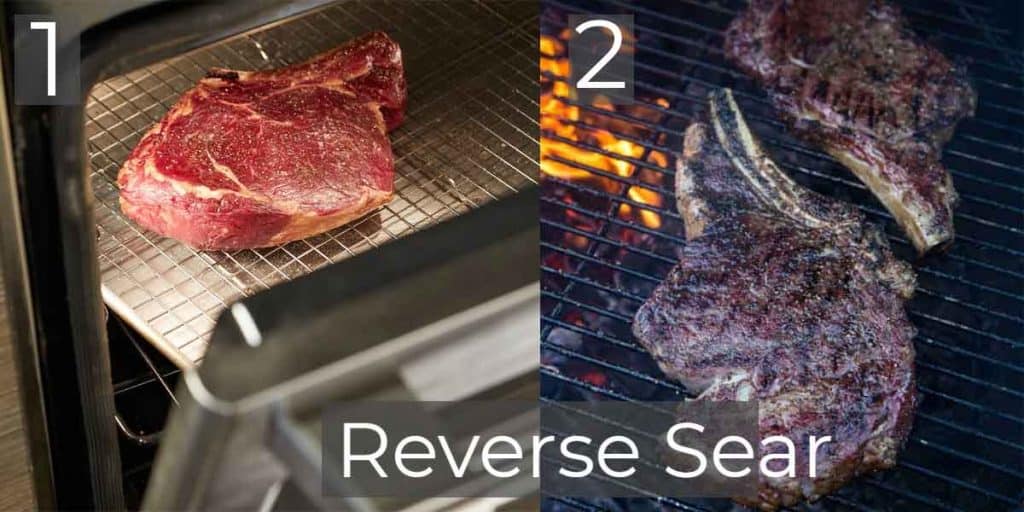
How to Reverse Sear A Steak?
Reverse-searing is a simple technique that adds moisture and flavor to your steak while preventing the juices from leaking out while it cooks. This step-by-step guide will show you how to do it!
- Preheat the oven to 250°F.
- Pat the steak dry and season both sides with salt and pepper, but don’t over-season if—you want to taste the meat, not the seasoning!
- Heat a skillet on high heat until it’s almost smoking (about 10 minutes), then add a little oil or butter to coat the pan.
- Place your steak in the pan and sear for 2 minutes per side, or until it’s nicely browned on both sides. Don’t move it around too much—just let it sit in one spot long enough to get good color on all sides. This helps seal in all that moisture you will lose when you bake it later!
- Transfer the steak(s) to a baking sheet and place them in your preheated oven for about 6 minutes per inch of thickness. The size of your steak will determine how long it needs to cook—so if you’re making more than one at once, be sure to keep track of which ones are done first, so they don’t overcook while waiting around for their friends!
- Remove from the oven once the internal temperature reaches 120°F for medium-rare steaks. After that, cover with foil and let them rest for 5 minutes before serving
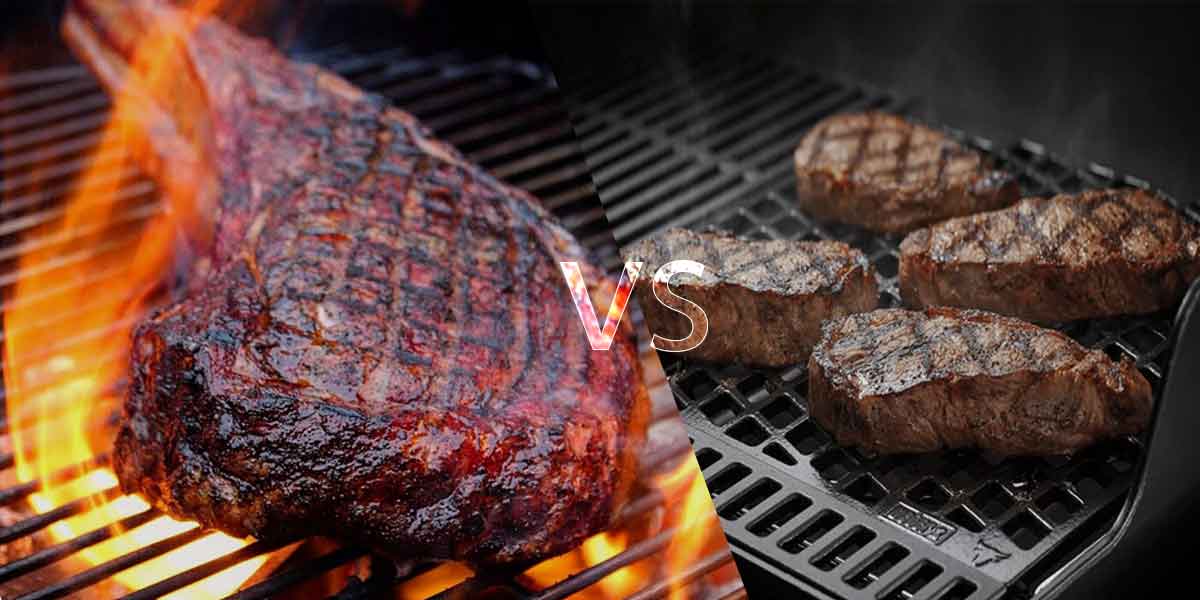
Front Sear Vs Reverse Sear Comparison
There are many different ways to cook a steak, but two of the most popular are reverse searing and front Searing. One of these methods is more effective than the other when achieving a beautifully cooked steak with a crisp outer crust and juicy interior.
We’ll cover the notable differences between the two methods and help you decide which one is right for your cooking style. Both methods involve searing your meat before cooking it in an oven.
The Difference is that reverse-seared meat is cooked in an oven at a low temperature for a long time, while front-seared meat is cooked in an oven at a high temperature for a short time.
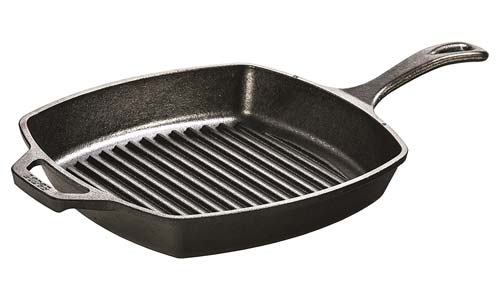
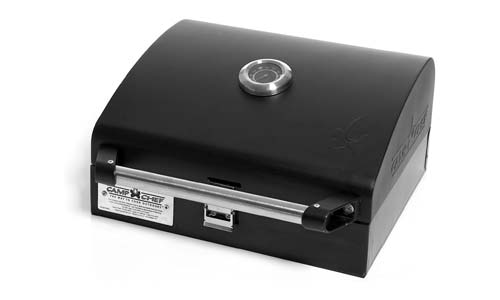
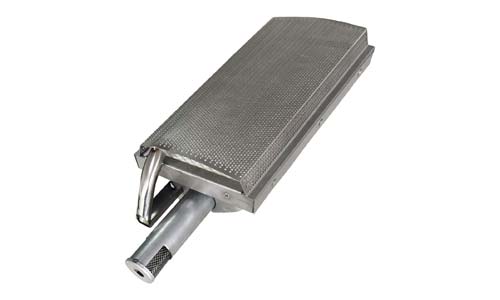
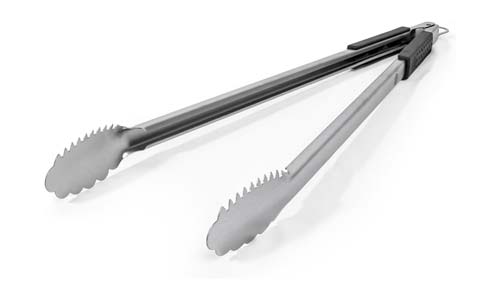
Top Accessories for Picture-Perfect Crusts | Juicy Front and Reverse Sear
Reverse Sear Vs Sear:
1. Reverse Sear
- Reverse Searing is a method of cooking meat that involves cooking it first at a low temperature, then finishing it at a higher temperature. Reverse seared meats are cooked in the oven or on the stovetop, so they don’t get that delicious charring with grill marks. This means you can cook them faster than traditional methods, saving time and energy.
- Reverse Searing is a good option if you want to cook large cuts of meat like a roast or tenderloin. It’s also great for cooking meat that has been seasoned with salt and pepper because those seasonings will not burn off in the oven (as they would if you were to sear your meat directly over high heat).
- Reverse seared steaks are cooked in an oven rather than on the stove or the grill. The steak is placed in an oven that has been preheated to 250°F (121°C), then allowed to cook for about 20 minutes before being turned over and moved around for another 15 minutes. This method allows for even heat distribution throughout the steak and prevents any parts from becoming too hot or undercooked.
2. Front Sear
- Front Searing is also a cooking method used for roasts and other large cuts of meat. It’s similar to reverse searing in that it involves starting with a low-temperature cooking method. Still, instead of finishing with a high-temperature one, you sear your meat directly on the grill or in a pan (or both!). This creates those delicious grill marks you love so much—and it makes your dinner look like something out of an ad for expensive steakhouse fare!
- Front Searing is better for thin cuts of meat like steaks or chops because it helps ensure that all sides of the meat get cooked evenly. This ensures that none of that delicious flavor gets lost in any spot!
- A front-seared steak is cooked on high heat with just enough oil to coat its surface (you don’t want excess fat). This method gets a nice sear on the outside while leaving some meat surfaces intact so they can retain moisture better during cooking time.
Upsides and Downsides to Reverse Searing
PROS —
- With reverse searing, you cook your meat at a lower temperature for a more extended period before searing it. This allows the meat’s internal temperature to rise slowly, making it easier to get that perfect sear on all sides of the meat.
- It makes it easier to control the temperature of your grill—you can start by cooking on the indirect heat of your grill, then finish off with an intense sear over direct heat. This allows you to get a perfectly cooked piece of meat without constantly checking in on it or moving pieces around on the grill when they’re close to being done.
- The technique gives you more control over how much fat renders out of the meat, which means that you can have just enough fat left in there for flavor.
- It’s mess-free! No more worrying about having grease splatter all over your stovetop—instead, just put the pan in the oven and let the fat drip away. You’ll have one less thing to clean up after dinner!
CONS —
- The downside to Reverse Searing is that it can be a little tricky. You have to know when to flip the steak, and if you don’t, you may end up burnt outside and raw inside.
- This method also doesn’t work with thicker cuts of meat or steaks larger than 2 inches thick.
- Reverse Searing takes longer than regular Searing—about 1½ hours per pound of meat on average. This makes it a little more time-consuming than traditional searing methods.
- If you’re looking for an extra-crunchy sear on your steak or other cuts of meat, you may be disappointed by reverse-seared steaks. The steaks aren’t cooked until they’re done means that they won’t develop as much of a crust as traditionally seared steaks do.
Conclusion
If you’ve ever grilled a steak, you know how much of an art it can be. But getting your dinner just right on the grill can be surprisingly tricky—especially if you’re trying for perfection. It’s no secret that grilling is a fantastic way to cook meat and vegetables, but it’s hard to get them exactly right.
Even with the best tools and ingredients, sometimes things just don’t pan out as planned. But there are some simple —tips and tricks you can take to ensure your next grilling session goes off without a hitch.